


TSC Printronix RFID Label Calibration
You scanned a QR Code from a TSC Printronix RFID printer that brought you to this web page.
During the RFID label calibration process the printer identified a marginal encoding condition that requires an additional step, and this document provides more information on how to proceed. This extra step will depend on the type of RFID labels or tags that you are using; liner-based labels or perforated tags (without liner).
Message on LCD Display | Action |
Are You Using Peel-Away Labels with Liner? | Action: Select Yes or No |
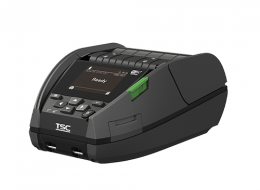
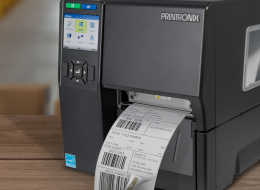
- Remove One Label – see picture | Applies to: - T800(1), T4000(2), T6000e(3) when using RFID peel-away labels Action:
|
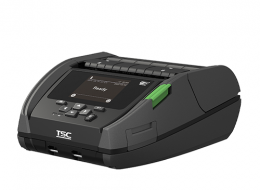
- Break the Strip - see picture | Applies to: - T800(1), T6000e(4) when using the internal antenna and RFID perforated tags (without liner) Action:
|
- Break the Strip outside leaving two labels - see picture | Applies to: - T4000, T6000e when using external antenna and RFID perforated tags (without liner) Action:
|
(1) T800 | Opening the Cover – Label Alignment: With the extra step, you will need to open the printer cover to get access to the RFID labels or tags. When you open the cover, make a note of where the label or tag is aligned. After you have peeled away the label, or broken the tag perforation, make sure the label or tag is still aligned at the same point as when you first opened the printer.
(2) T4000 | When Using Peel-Away Labels: There is no need to open the printhead after the pop-up message is displayed, and we recommend against doing so.
(3) T6000e | When Using Peel-Away Labels: There is no need to open the printhead after the pop-up message is displayed, and we recommend against doing so.
(4) T6000e | When Using Perforated Labels (without liner) with the Internal Antenna: There is no need to open the printhead after the pop-up message is displayed, and we recommend against doing so.
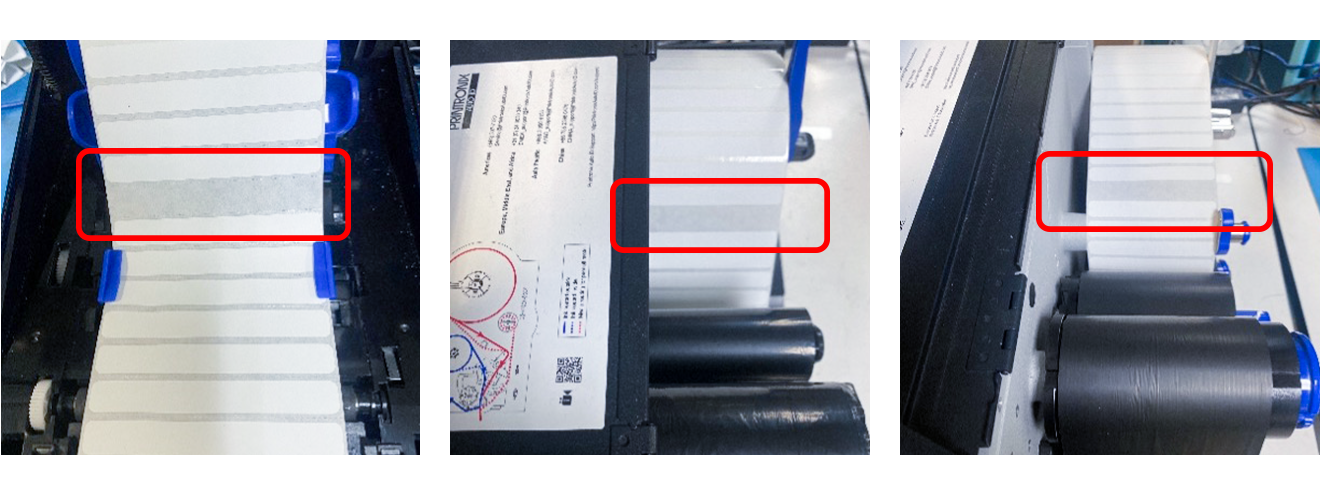
Figure 1: T800 / T4000 / T6000e Calibration with Gap Peel-Away Labels – Remove One RFID Label
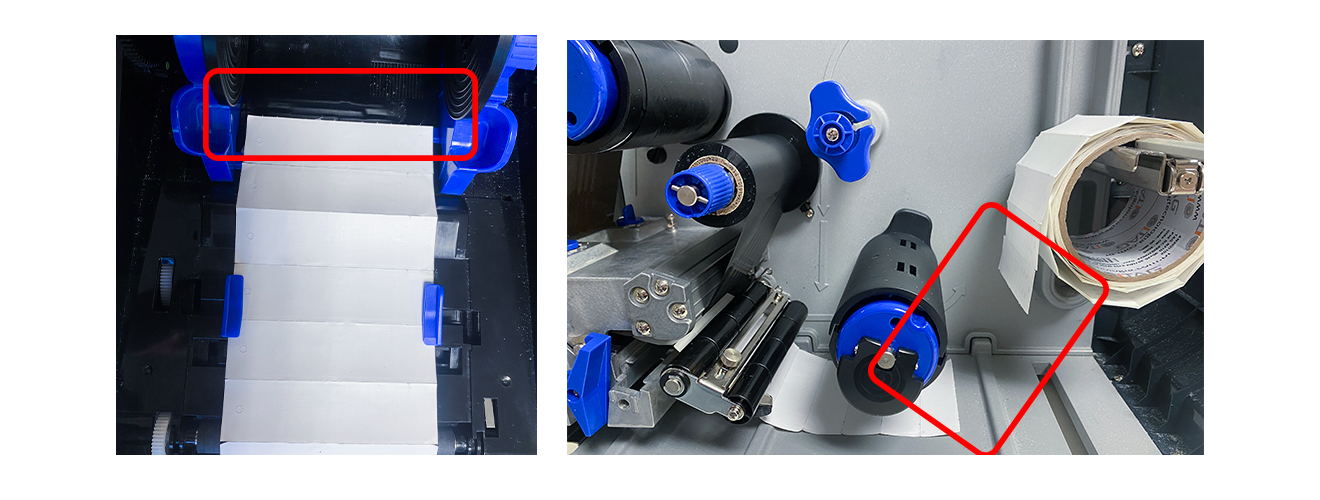
Figure 2: T800 and T6000e (Internal Antenna) Calibration with Perforated Labels
Break the Tag Strip in the Media Bay
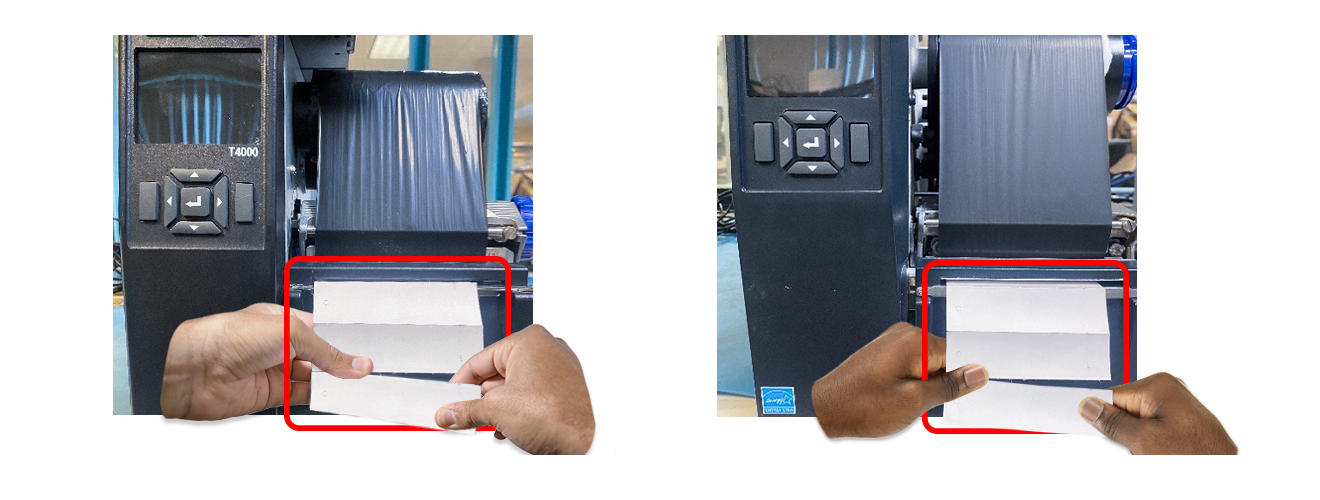
Figure 3: T4000 and T6000e (External Antenna) Calibration with Perforated Labels
Break the Tag Strip at the Front of the Printer Leaving at least Two Full Labels Exposed
Missing Label Not Detected
If, after 20 labels have advanced, and the first missing label is not detected (as it was not removed), or the end of the perforated tag sequence is not detected, the printer will display one of the two calibration failure messages as a red pop-up:
| RFID Calibrate | RFID Calibrate | |
| No Peeled Label | No Break In Labels | |
| Enter to Exit | Enter to Exit |
In this situation, the calibration values are not stored so if print jobs are run the printer will declare an "RFID Uncalibrated" fault. You will have to re-start the RFID label calibration process.
Dead Tag Near Decision Point
If during calibration a dead or weak tag is detected near the missing or broken label, the printer will display one of the two calibration failure messages as a red pop-up:
| RFID Calibrate | RFID Calibrate | |
| Dead Tag Near Peeled | Dead Tag Near Break | |
| Enter to Exit | Enter to Exit |
In this situation, the calibration values are not stored so if print jobs are run the printer will declare an "RFID Uncalibrated" fault. You will have to start the RFID label calibration process over again and peel or break in a different place on the label roll.
If you have any questions, please contact TSC Printronix technical support.